
Hand Sanding vs Power Sanding
Discover the key differences between hand sanding and power sanding, and learn when to use each method for the best woodwork surface preparation.
TOOLS 3 - SANDING PREP / SAFETY / QUALITYBASIC - JOINERY/ WOOD MOVEMENT / SANDINGWOOD & FINISH 3 - SANDING / SURFACE PREP
Sawdust BuzzBlog Editorial Team - Led by AJ “Buzz” Eichman
2/9/20264 min read
Hand Sanding vs Power Sanding: Choosing What Matters in Surface Preparation
Sanding the wood properly is one of those steps that shapes your finish more than most people realize. How you sand—by hand or with power—makes a difference, not just in the time it takes but in the quality of your end result. I’ve worked projects where I leaned too heavily on one method and had to fix avoidable mistakes later. So let’s look at what each approach brings to the table and when you might want to use it.


When Hand Sanding Makes Sense
Hand sanding isn’t just for old-timers or small jobs. It remains a solid choice in my shop for the right reasons:
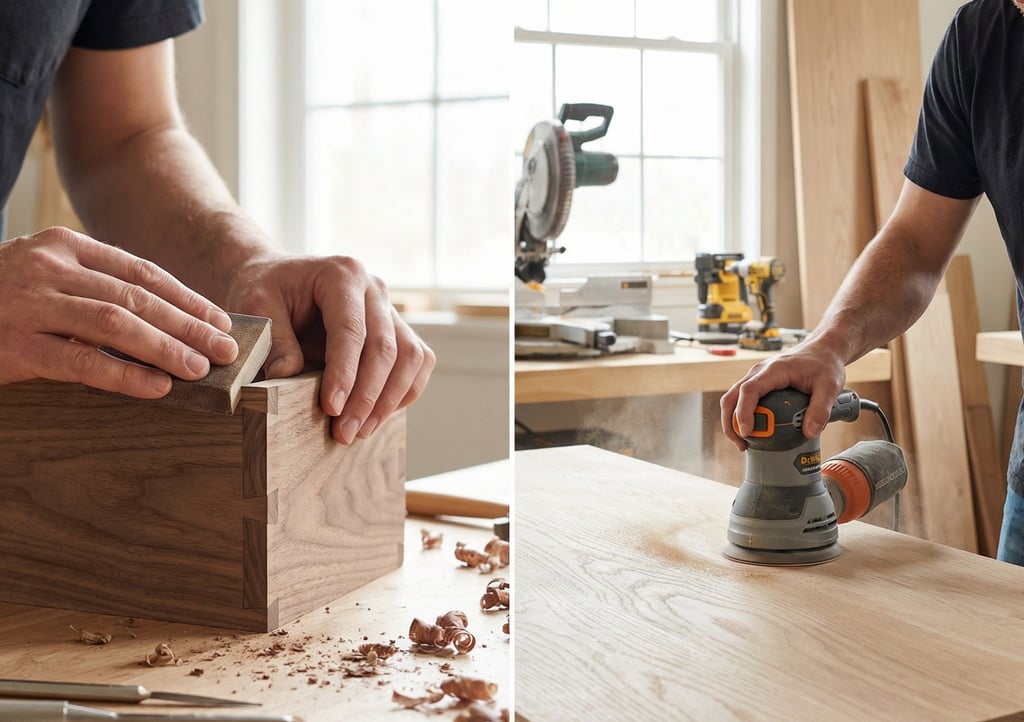
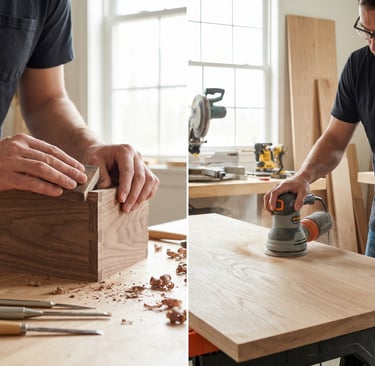
- Complex or Curved Surfaces: You get the feel, the control to follow contours without gouging. Power tools fight with curves; hand sanding obliges.
- Fragile or Thin Wood: There’s a gentleness to hand sanding that power tools can’t match. You won’t accidentally dig into soft grain or thin edges.
- Small Repairs and Touch-ups: If you’re blending finishes or smoothing a small patch, nothing beats the precision of a sanding block or foam pad in your hand.
- Final Finishing Steps: I prefer hand sanding before any finish goes on. It’s slower and more careful, avoiding the scratches or swirl marks power tools might leave behind.
The tradeoff is you’ll spend more time and energy. That’s not a bad thing if your priority is control and quality over speed. But don’t kid yourself—it’s hard work on larger surfaces.


Why Power Sanding Is Worthwhile
Power sanders exist because sanding by hand on big flat surfaces is a grind—literally. Here’s where they shine:
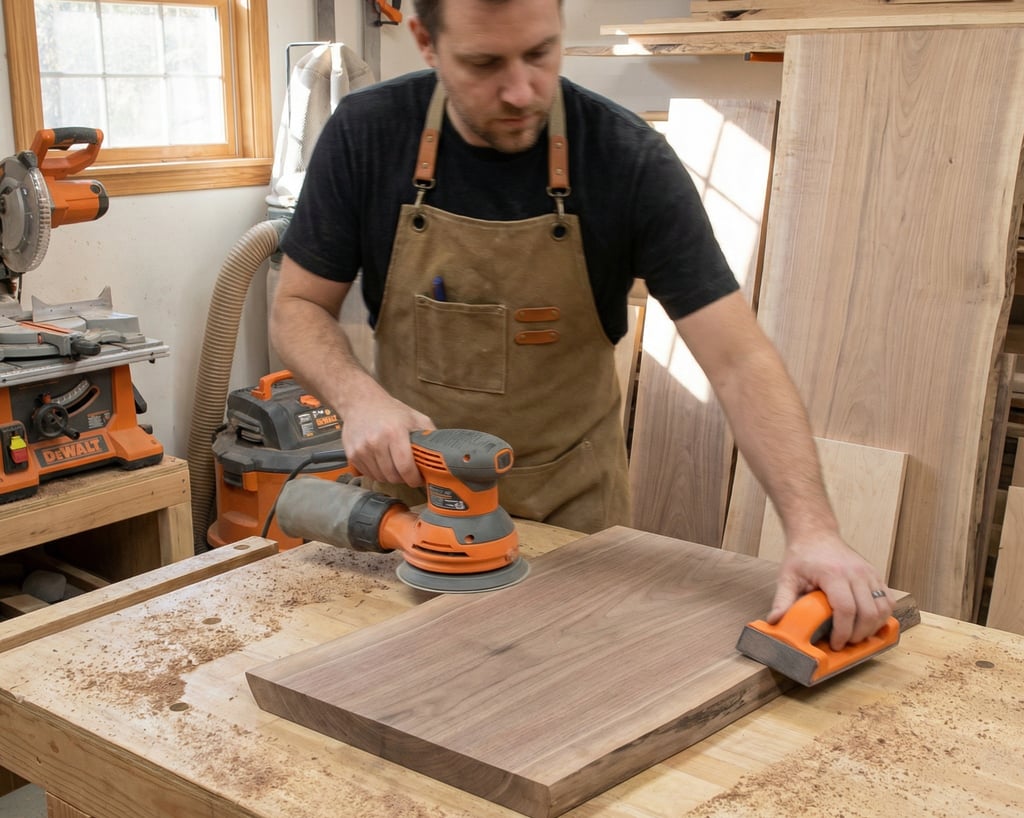
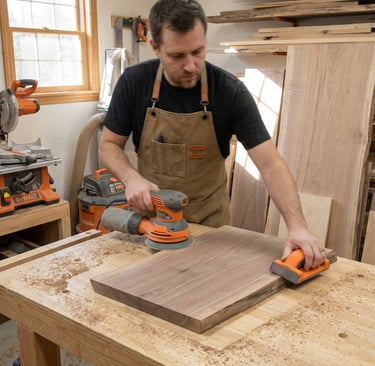
- Large, Flat Workpieces: Tabletops, flooring, cabinet doors—power sanders cover more ground quickly and evenly.
- Removing Rough Stock or Old Finishes: They tackle these tasks faster, saving you time and effort upfront.
- Reducing Fatigue: Less strain means you can spend more time on your project and less recovering after.
- Consistent Surface Texture: Especially with random orbital sanders, swirl marks are minimal, and the surface looks uniform.
But don’t let the speed fool you. Power tools can bite if you’re not careful:
- Press too hard or linger in one spot, and you’ll gouge your wood.
- Poor technique leads to swirl marks that haunt your finish.
- They’re noisy and dusty—dust extraction and ear protection aren’t optional if you value your lungs and hearing.
- They cost more upfront—both tool and consumables.
**Power tools I trust:**
Random orbital sanders for the bulk of the work. For tighter or smaller jobs, palm sanders are easier to wield with control.
Side-by-Side: Speed, Control, and Finish
| Factor | Hand Sanding | Power Sanding |
|--------------------|--------------------------------------|-------------------------------------|
| Speed | Slow; suited for detail and small areas | Fast on large flat surfaces |
| Control | High tactile feedback; precision | Requires practice to avoid mistakes |
| Finish Quality | Superior for delicate final touches | Even surfaces but risk of swirl marks |
| Effort | Physically demanding over time | Less physical strain |
| Dust | Minimal | High volume; best with vacuum system |
| Initial Cost | Low tool investment | Higher, including accessories |
Common Traps and How to Avoid Them
- Going Heavy with Power Sander: You’re tempted to push harder, thinking it’ll go faster. Instead, you risk uneven removal or burning the wood. Light pressure and constant movement is the way. Ask me how I know.
- Skipping Hand Sanding on Detail Work: Relying solely on power sanding leads to uneven edges and missed spots. Blend the two methods.
- Ignoring Dust Control: Both produce dust, but power sanders turn it into a fine cloud that’s hard on your health and your shop. Masks and vacuums are worth the hassle.
- Jumping Grits or Skipping Progression: This shortcut almost always results in scratches or uneven surfaces down the line.
Best Practice: Use Both Where They Fit
In my experience, the smartest choice isn’t hand or power sanding. It’s a combination:
1. Use power sanding to flatten rough stuff or prep large surfaces quickly.
2. Switch to hand sanding for edges, curves, and the final smoothing before finishing.
3. Always move through grits methodically—from coarse to fine—to avoid scratches.
4. Keep your sanding tools clean and replace worn abrasive paper promptly.
This method respects the strengths of each approach while minimizing their weaknesses.
Frequently Asked Questions
Q: Can power sanders ruin softwoods?
A: Yes, if you’re heavy-handed. Softwoods soak up aggressive power sanding like a sponge and leave divots. Use a light touch and finer grit or opt for hand sanding when in doubt.
Q: Is hand sanding necessary before finishes?
A: Not absolutely, but if you want a flawless finish, hand sanding on intricacies is almost always worth the time. It gives you better control and less risk of finish defects.
Glossary
- Random Orbital Sander: Moves in randomized orbits to prevent repetitive sanding marks—my go-to for broad sanding.
- Grit: Sandpaper coarseness. Lower numbers strip material faster, higher numbers smooth surfaces finer.
- Swirl Marks: Circular scratches from improper use of power sanders, often a finishing headache.
Final Thoughts
There’s no one-size-fits-all answer here. Your choice depends on the project’s size, the wood’s nature, and the finish you want. I trust power sanders for speed and consistent flatness but rely on hand sanding for control and finesse you just can’t power through. Learn when to use each—and when to use both—and you’ll save yourself from a lot of headaches.