
Plywood
Learn the essentials of plywood from its layered construction to choosing the right type and tools. Master cutting, drilling, and finishing plywood for lasting woodworking projects.
WOOD & FINISH 1 - WOOD / SOFT HARD / ENGINEEREDBASIC - UNDERSTANDING YOUR MATERIALS
Sawdust BuzzBlog Editorial Team - Led by AJ “Buzz” Eichman
2/8/20264 min read
Plywood: What You Need to Know to Work It Right
Plywood is one of those materials that every woodworker—whether pro or weekend warrior—should understand. It’s not complicated, but there are a few details that matter if you want your project to hold up without hassle.
In my shop, plywood shows up in just about every build because it’s stable, strong, and often more economical than solid wood. But if you treat it like solid lumber, you’re asking for trouble later. Let’s walk through what plywood is, the main types worth knowing, how to handle it, and avoid the mistakes that can cost you time and money down the road.
What Plywood Is and Why It Works
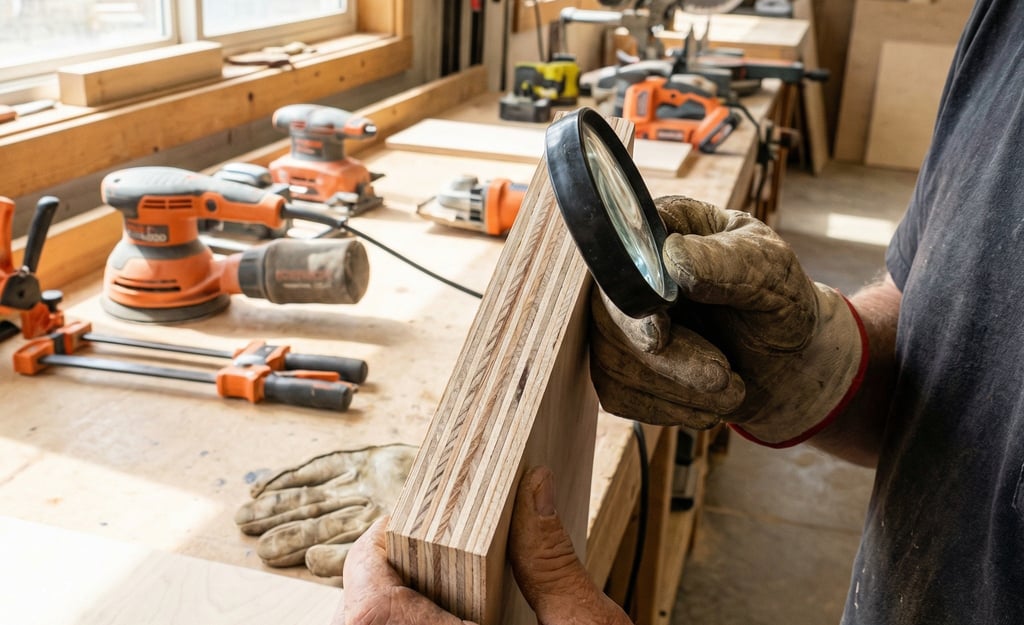
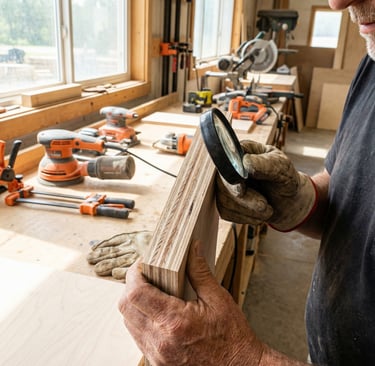
At its core, plywood is an engineered wood panel made from thin layers of wood veneer glued together. The key is in how these layers are arranged: each layer’s grain runs perpendicular to the next. This is called cross-lamination, and it’s what gives plywood its strength and resistance to warping or shrinking that solid boards often can’t match.
There are two common ways to produce the veneers:
- Rotary peeling, where a log spins on a lathe and peels off a continuous sheet, typically softwood used in construction plywood.
- Slicing, where veneers are sliced from the log, common for hardwood plywood with nicer face veneers meant for furniture or cabinetry.
This layering also explains why plywood panels behave so differently from solid wood—grains running perpendicular tend to balance internal stresses better, which makes plywood more dimensionally stable.
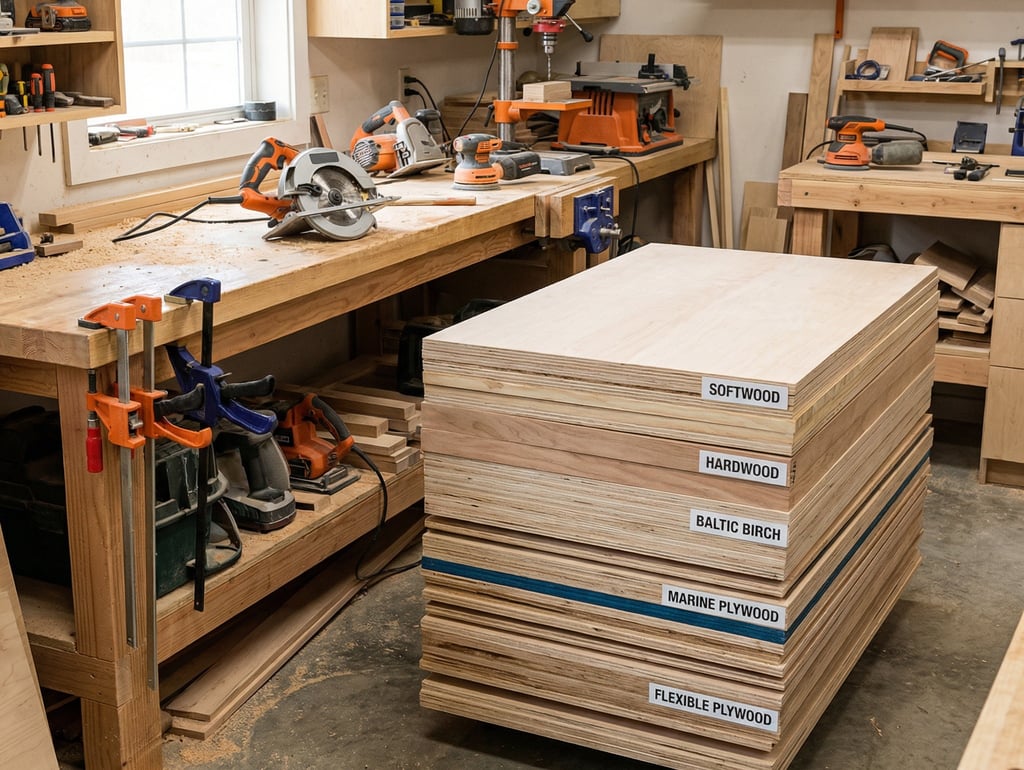
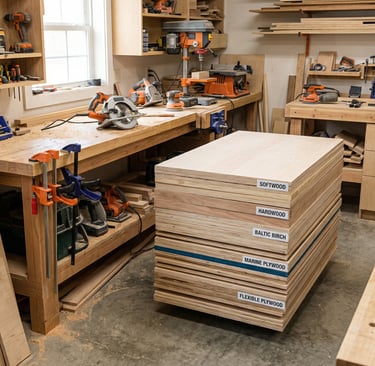
Common Types of Plywood You’ll Encounter
Not all plywood is the same. I’ve learned that picking the right type at the start saves headaches.
- Softwood plywood: Usually thicker, used in framing, sheathing, subfloors. It gets the job done but doesn’t look great if you want a fine finish.
- Hardwood plywood: Faces of hardwood veneers with softer cores — good for cabinets, furniture, where appearance counts.
- Baltic Birch plywood: A bit pricier but well worth it. Multiple uniform layers, consistent thickness, and no voids make it my go-to for drawer boxes and fine projects.
- Marine plywood: Uses waterproof glue, necessary if your project will be exposed to moisture frequently.
- Flexible plywood: Thin layers glued with flexibility in mind for curved surfaces.
Knowing the right plywood for your project prevents problems before you start.
Tools and Techniques That Make Working Plywood Easier
Plywood’s veneer layers call for some specific handling; treating it like solid wood is a good way to chip or splinter edges.
Cutting Plywood
- Use a circular saw with a fine-toothed crosscut blade (40-60 teeth) to reduce tear-out. I’ve tried cheaper blades to cut costs — ended up sanding for hours to fix splintered edges. Ask me how I know.
- Always use a straight edge guide or saw track. Freehand cuts rarely end well and waste good plywood.
- For curved or intricate cuts, a jigsaw works best if you use a fine-tooth blade designed for plywood.
Drilling and Screwing
- Pre-drill all screw holes in plywood edges. If you don’t, the layers can split; it’s one of those ‘optional’ steps that bite you later.
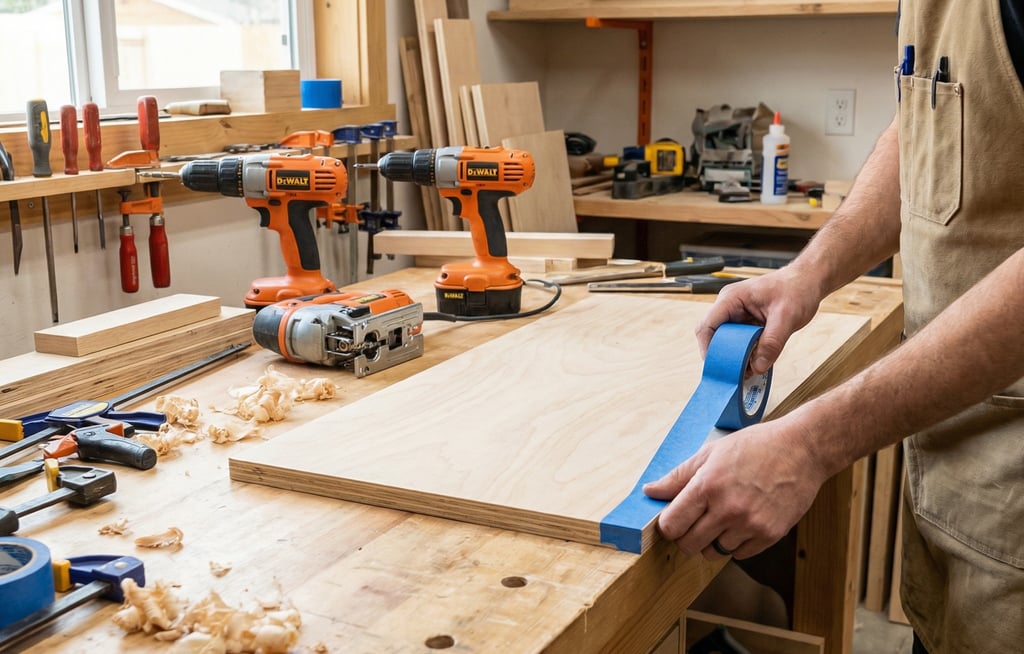
- Tape over drilling spots on the face before drilling to reduce surface chipping.
- Pocket hole joinery works well with plywood. It can speed up assembly and create strong joints when done right.
Finishing Edges
- Plywood edges show the layers and can look rough. Applying iron-on edge banding or solid wood trim cleans this up nicely.
- Sand edges carefully but don’t overdo it—you want a smooth edge, not rounded or frayed veneers.
Common Mistakes and How to Avoid Them
Every woodworker trips over these at some point:
- Using ripping blades (low tooth count) to cut plywood: this causes splintering.
- Skipping pilot holes in edges: leads to delamination or splitting.
- Cutting freehand or without guides: results in wavy, inaccurate cuts.
- Drilling without tape: causes ugly chipping on the surface.
- Leaving edges untreated: plywood edges will peel or look amateurish without banding or trim.
Addressing these early keeps your builds clean and structurally sound.
FAQs About Plywood
Q: What blade should I use for clean plywood cuts?
A: A 40-60 tooth crosscut blade on a circular saw is best. It reduces splintering more than ripping blades.
Q: How can I prevent chipping when drilling into plywood?
A: Put painter’s tape over the hole location and use sharp bits for pilot holes.
Q: Is pocket hole joinery suitable for plywood?
A: Yes. It creates strong, hidden joints quickly as long as you predrill and clamp well.
Final Thoughts
Plywood isn’t complicated wood, but it requires knowing a few details to handle it well. Its layered construction is what makes it strong and stable—but also vulnerable to chipping and tearing if treated carelessly.
In my shop, plywood is a reliable workhorse when I use the right type, cut it with appropriate tools, pre-drill screw holes, and finish edges properly. This approach adds time upfront but saves frustration and repair later.
If you’re building cabinets, furniture, or framing, plywood should be a tool in your skill set, not a mystery. Get comfortable with it now—those layers work with you, but only if you listen.
If you need advice on a specific plywood application or problem, don’t hesitate to reach out. I’ve been down those roads plenty and can point you toward what works.
You want your skills to last longer than a project. Understanding plywood—how it’s built and how to work it—is part of that foundation.