
Projects that teach measuring, cutting, and assembly
Discover beginner woodworking projects that build your skills in measuring, cutting, and assembly to create confident, precise craftsmanship from the start.
SHOP 1 - INTRO / SPACE /LAYOUT
Sawdust BuzzBlog Editorial Team - Led by AJ “Buzz” Eichman
2/9/20264 min read
Projects that Teach Measuring, Cutting, and Assembly: Beginner Projects Building Fundamentals
Let’s kick this off with a hard truth: measuring, cutting, and assembly might not sound like the setup to a sold-out comedy show. But hey, if you can build a basic box without crying or injuring yourself, you’re basically a woodworking wizard. My inner seven-year-old once asked, “What’s so exciting about a cutting board?” I said, “Kid, it’s the gateway to carpentry greatness.” Still reading? Wow. You’re officially my favorite. Let’s get into it.
Why Start with Measuring, Cutting, and Assembly Projects?
Alright, before you hit me with “Why can’t I just glue a bunch of popsicle sticks together and call it art?”, hear me out. Measuring, cutting, and assembly are the sine qua non – the holy trinity – of woodwork. Without them, you’re basically Simon Cowell telling contestants to sing off-key. Here’s the lowdown:
- Accuracy and Precision: Nail these and your joints won’t look like they survived a wrestling match. Your parts fit like the last pieces of a jigsaw puzzle—not a toddler’s puzzle sans picture.
- Tool Fluency: Meet your new BFFs: tape measure, saws, clamps. They might seem scary, but I promise they don’t bite (hard).
- Confidence Booster: Finished a box? Boom. Next project looks way less scary. Fear of power tools? Fade away.
- Foundation for Creativity: Know your basics and suddenly you’re the Picasso of plywood, free-styling with flawless technique.
Basically, it’s like learning the alphabet before texting in emoji. You feel me?
Top 5 Beginner Projects to Master the Fundamentals
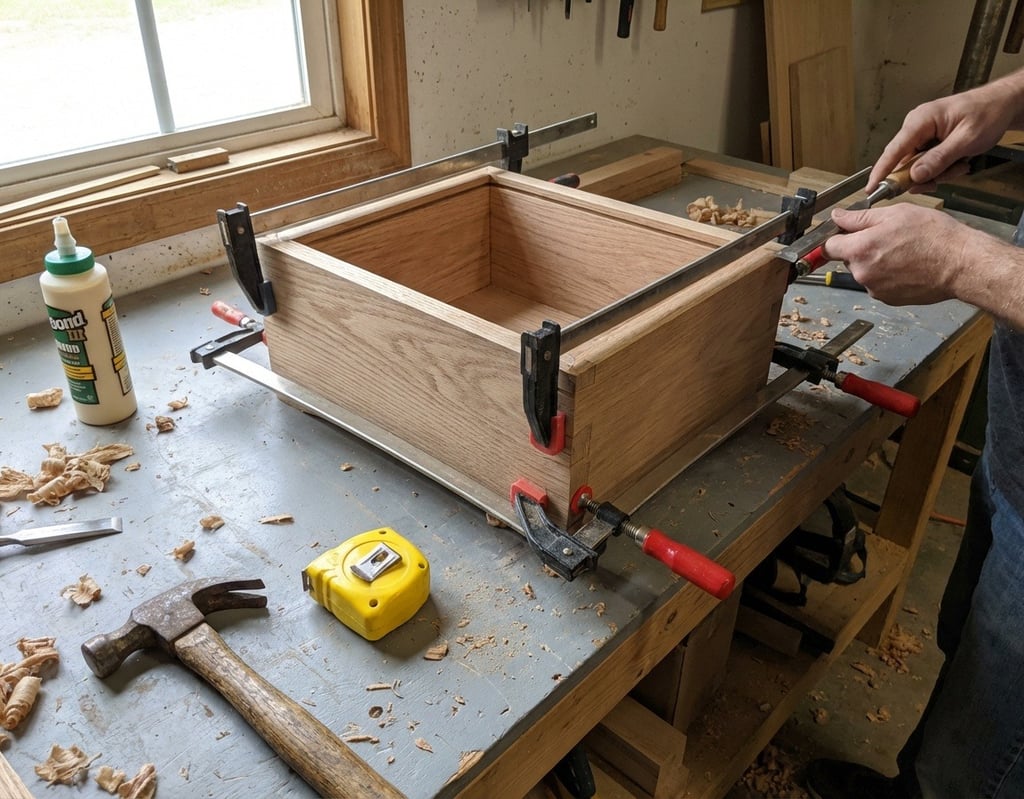
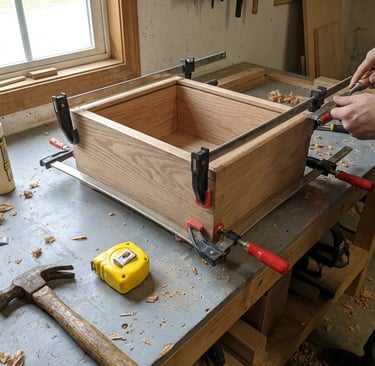
1. Basic Box
The Swiss Army knife of beginner projects. You get to measure six pieces, cut straight lines, and wrestle with assembly using glue and nails.
**What you’ll learn:**
- Laser-focused measuring and straight cuts
- Glue, nails, and maybe a pinch of patience
- Sanding from scratchy-scratch 80 grit to silky-smooth 220 grit
2. Picture Frame
Welcome to the world of 45-degree miter cuts — the angle that makes every carpenter sleep a little better at night.
**Skills unlocked:**
- Measuring and marking long strips like a pro
- Miter saw wizardry for perfect picture-perfect corners
- Assembling with a neat-as-a-pin finish
3. Cutting Board
For those who like their projects functional and their edges smooth enough to eat off (but, please don’t).
**Focus points:**
- Precise dimensional measuring
- Straight cutting mastery
- Sanding edges smoother than your grandma’s butter
4. Small Jewelry Box
Think tiny pieces, fine measuring, and the addition of hinges for that bling factor. Bonus: it doubles as a sitcom-worthy “gift for your weird cousin.”
**Learn how to:**
- Measure small with ninja precision
- Cut precisely and assemble with fasteners or tiny hinges
5. Plant Stand or Simple Shelf
It’s like a box’s cooler, more functional cousin. You’ll juggle multiple parts and get acquainted with screws, brackets, and basic joints.
**Achievement badges:**
- Multi-piece measuring and cutting
- Assembly for stability and bragging rights
Step-by-Step Guide: Measuring, Marking, and Cutting Techniques
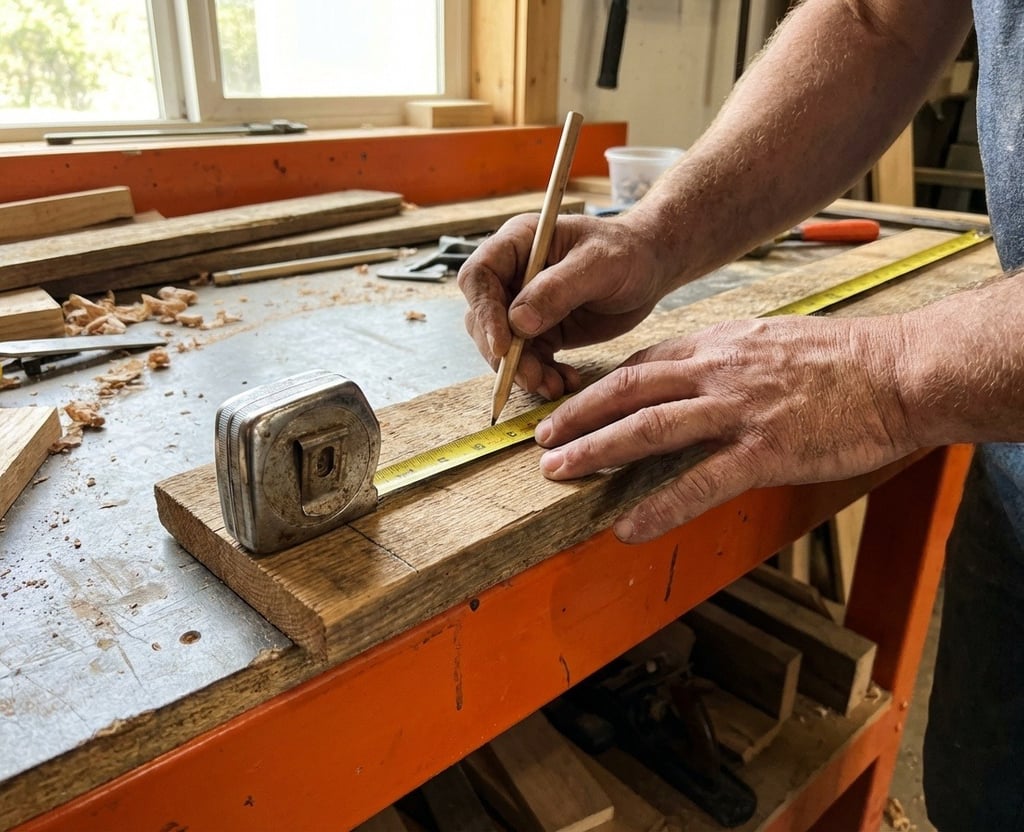
Measure Twice, Cut Once
Do this like your life depends on it (or at least your project). Avoid the “Why is this piece 2 inches short?” meltdown. Use a tape measure or ruler and mark clearly with a sharp pencil or—if you’re feeling fancy—a marking knife. Yes, they exist and make you look like you know what you’re doing.
Marking the Cut Line
Don’t be shy. Mark your cut line light enough to erase later but bold enough to see when your eyes are half-closed after four cups of coffee. For those compound angles or joinery, whip out a square tool for angles sharper than your wit.
Cutting Techniques
Pick your saw like you pick your fighter in a video game:
- Crosscut: Slicing across grain—miter saw or handsaw, you choose.
- Rip Cut: Cutting along the grain—table saws and circular saws strut their stuff here.
- Miter Cut: The all-important 45-degree corner dance for frames and boxes.
- Bevel Cut: The edge-tilted blade move that lends your project extra sass.
Pro tip: Cut on the waste side of the line. Yes, I mean the side you don’t need. Preserve that measurement like your sanity depends on it. Slow and steady wins this race.

Essential Tools and Safety Tips for Beginners
Tools You’ll Need
- Tape measure and combination square (your new best buds)
- Sharp pencil or marking knife (good manners for wood)
- Handsaw or (if you’re fancy) miter saw
- Hammer and nails or screwdriver and screws (your choice of weapon)
- Wood glue (sticky magic)
- Sandpaper trio: 80, 120, 220 grit (from sandstorm to silk)
- Clamps (because hands are for holding snacks, not wood)
Safety Tips
- Safety glasses: because no one looks cool in a saw casino.
- Keep your digits clear of blades — thumbs up for safety!
- Clamp your work to stop it moonwalking away while you cut.
- Be sure you’re breathing fresh air—not fumes or sawdust clouds.
- Take breaks before you start inventing new curse words.
Common Mistakes and How to Avoid Them
- Not double-checking measurements: We love repeat performances...not when cutting wood.
- Blunt pencils lead to sloppy lines: Sharpen that stick like a wizard’s wand.
- Cutting inside the line: Cut on the waste side or face the shame of gaps and wobbles.
- Skipping sanding steps: Start rough, finish smooth, impress your future self.
- Ignoring safety: No one’s tougher than a bandage. Gear up.
FAQ
**Q: What is the best first project for learning woodworking basics?**
A: The basic box. It’s like the training wheels of woodworking: measuring, cutting, assembly, and sanding all in one neat package. Plus, it looks cute.
**Q: How do I ensure accurate measurements in woodworking?**
A: Measure twice, mark carefully with a sharp pencil or marking knife, then pause for dramatic effect before cutting. Accuracy is your new best friend.
Glossary
- Crosscut: Cutting across the wood grain. Think of slicing a loaf of bread.
- Miter Cut: An angled cut (usually 45 degrees) to create perfect corners. Hello, picture frames!
- Bevel Cut: The blade tilts to cut edges at an angle — like giving your wood some personality.
- Rabbet: An L-shaped notch or groove for fit-them-together magic.
Mastering measuring, cutting, and assembly is less about building IKEA angst and more about unlocking your creativity with precision and style. Get these down, and the rest of your woodworking career is basically a series of “look what I made!” moments. So, go on—grab that tape measure, channel your inner Bob the Builder, and build something awesome. And yes, this will be on the test.