
Using Reliable Measuring Tools
Accurate woodworking starts with reliable measuring tools. Learn which tools matter most, how to use them correctly, and the habits that prevent costly mistakes before you ever make a cut.
BASIC - MEASURING / CUTTING / SAFETYEDITOR PICKS
Sawdust BuzzBlog Editorial Team Led by AJ “Buzz” Eichman
2/8/20264 min read
Using Reliable Measuring Tools: Master Woodworking Precision with Trusted Equipment
In woodworking, your most valuable skill isn’t fancy joinery or complex finishes — it’s the ability to measure and mark accurately. It’s the difference between a project that fits together tightly and one that leaves gaps or needs fixing. Reliable measuring tools aren’t a luxury; they’re the foundation of any good woodworker’s bench.
I’m speaking from experience here. I’ve spent plenty of time rebuilding parts, adjusting joints, or worse, scraping entire pieces because of a sloppy measurement. That’s why I recommend investing in tools that hold up to your work and adopting measuring habits that keep you out of trouble.
Why Reliable Measuring Tools Matter
It may sound obvious, but let me be clear on this: measuring isn’t optional. It’s critical. Here’s why:
- Fit and function hinge on accuracy. The tighter your joints, the stronger and cleaner your final piece.
- Material doesn’t grow on trees. Mistakes mean waste—both in wood and your time.
- Consistency keeps your project professional. Cutting multiple parts to the same dimension relies on repeatable, trustworthy measurements.
- Save time, not just money. Checking and rechecking measurements upfront prevents the dreaded cycle of “cut, check, recut.”
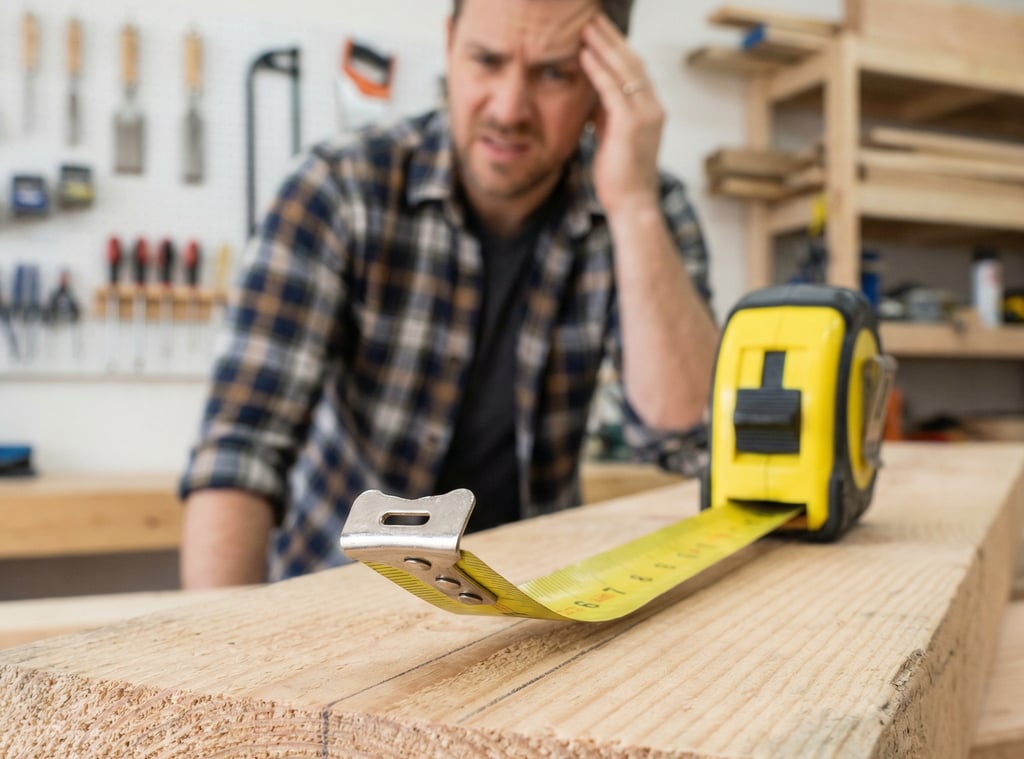
Cheap or beat-up tools introduce errors. I’ve had tape measures where the hook bent and threw off all the inside measurements. It’s not a good feeling when your careful layout turns into filler shims and frustration.

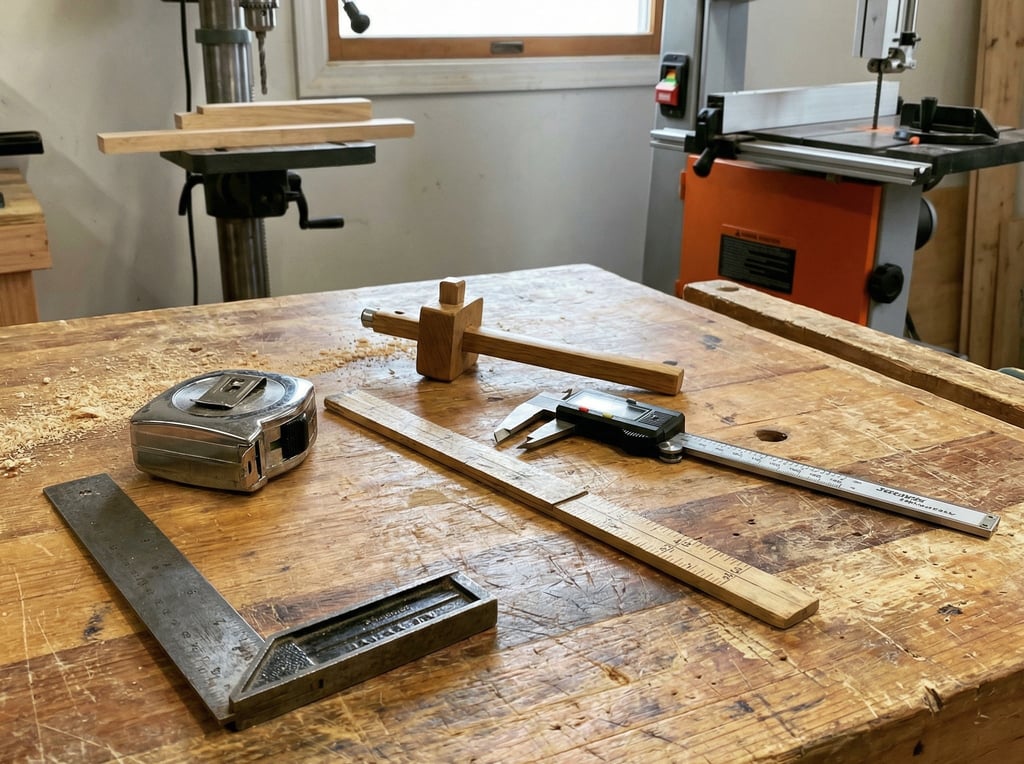
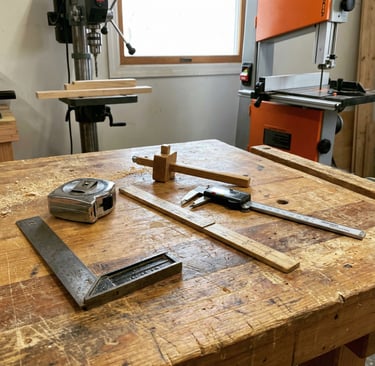
Essential Measuring Tools for Woodworking Precision
Every shop needs a set of reliable basics. Here’s what I recommend:
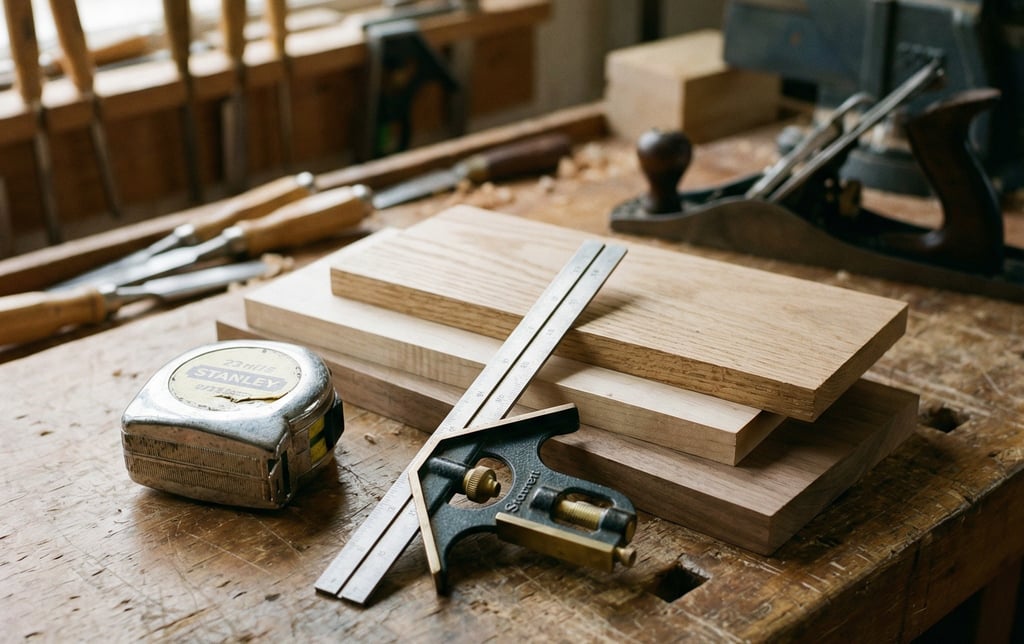
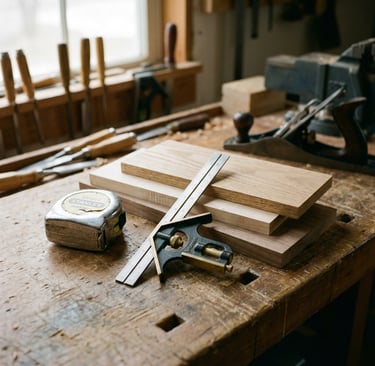
Tape Measure
Your go-to for most measurements. Choose one with clear markings in inches and millimeters, with a solid locking mechanism. Keep an eye on the hook—the little bit of movement it has is intentional, letting you measure both outside and inside edges accurately. Ignore that, and you’re heading for trouble. Ask me how I know.
Combination Square
A versatile tool that checks 90° and 45° angles, measures depths, and marks lines. The sliding ruler on the square head is perfect for layout and quick inspections.
Marking Gauge
For joinery, few tools are as useful. Unlike pencil marks that can smear or vary, the marking gauge scratches a consistent, thin line parallel to a reference edge. It’s one of those steps that feels optional until you have to saw to that line—and the pencil mark is hard to see or uneven.
Calipers
If you need fine measurements—thickness, diameters, or recessed depths—calipers are indispensable. I prefer dial or digital ones for precision to the thousandth of an inch. You won’t be using them every day, but when you do, they save headaches.
Try Square
Good for checking and marking right angles on edges and faces. It’s worth having a solid, well-calibrated square that doesn’t wobble or leave gaps.
Story Stick
Often overlooked, a story stick lets you transfer a series of measurements repeatedly without remeasuring each time. It’s a simple tool that cuts down on cumulative errors — something even experienced woodworkers can underestimate.
Best Practices for Accurate Measuring and Marking
Having recommended the tools, the next step is about how you use them. There are a few things that separate reliable results from “close enough.”
Measure Twice, Cut Once
If I had a dollar for every time this advice was ignored, I’d have paid off my workshop years ago. This isn’t a cliché — it’s the single most effective way to avoid embarrassing mistakes.
Stick to One Tool Per Project
Working with multiple rulers or tape measures is where minor inconsistencies creep in. Use the same tool from start to finish. Your tape measure may be slightly off—everyone’s is—but it’ll be consistent if you don’t switch back and forth.
Keep Tools Calibrated and Clean
Regularly check your tape measure and squares against a known reference. Calipers should be zeroed before use. Marking gauges should be clean and free of debris to ensure sharp, crisp lines.
Use Jigs and Stops to Your Advantage
When cutting multiple identical parts, rely on stops and jigs instead of measuring every time. This locks in accuracy and speeds up your workflow. You’ll avoid those subtle shifts that turn one “identical” piece into five slightly different ones.
Mark Clearly and Precisely
A sharp pencil, marking knife, or scribe makes all the difference. Avoid broad or indistinct markings — they only invite guesswork when sawing or chiseling. And mark on the face where you intend to cut or fit, never just "close enough" on the wrong side.
Common Measuring Mistakes and How to Dodge Them
I’ve seen all the usual traps that trip up beginners and pros alike:
- Switching tools mid-project and introducing measurement drift.
- Overlooking the slight play in tape measure hooks.
- Using dull pencils or dirty marking gauges that make smudged or faint lines.
- Skipping calibration checks because “it looks close enough.”
- Measuring once and hoping for the best.
Each of those can easily turn a straightforward cut into a frustrating repair. There’s a reason I don’t do it that way anymore.
FAQs
Q: What’s the most accurate tool for woodworking measurement?
A: It depends on what you’re measuring. For fine detail like thickness or groove widths, calipers are unbeatable. For general layout, a high-quality combination square and tape measure are more than good enough.
Q: How often should I check my measuring tools?
A: It depends on how much you use them. I check heavily used tape measures and squares every month. If you notice odd readings or your marks don’t line up, stop and recheck immediately.
Glossary
- Combination Square: Checks 90° and 45° angles; measures and marks depth.
- Marking Gauge: Creates precise, parallel scribe lines for joinery.
- Calipers: Fine measurement tools for thickness, diameters, and depths.
- Try Square: Verifies and marks right angles on edges and faces.
- Story Stick: A marked stick for transferring multiple, repeatable measurements.
Final Thoughts
Reliable measuring tools and solid measuring habits are what separate workable shop projects from costly mistakes. Invest in good tools, maintain them, and use them with care. It’s not glamorous work, but it’s what keeps your projects fitting together tight and your frustration low.
Measure carefully. Mark clearly. Cut confidently. Your projects, your sanity, and your clients will thank you.